What You'll Need
- SFMTA Stencil:
- Dimensions: Text- 2.75" x 18.5", outside of stencil-at least 8.75" x 24.5" for overspray protection
- 🔗 SVG Code (Password: spraypaint)
- 3D Printer File: Coming Soon (maybe)
- Red Paint (water-based)
- SFMTA has historically used Ennis-Flint paint, which is now produced by PPG. There is a local store in south SoMa; call ahead to check stock, ask for "Ennis-Flint quick-dry waterborne red."
- Many alternatives are available; look for "traffic" or "striping" paint. Water-based ("latex") will dry faster than oil-based. For example:
- INSL X Latex Traffic Paint TP-2202 Red
- Yellow Spray Paint - Striping Spray Paint
- SFMTA uses AERVOE #720 yellow.
- ℹ️ AERVOE
- 🚚 Amazon
- 🚚 Equip Supply
- SFMTA uses AERVOE #720 yellow.
- Rust-Oleum Inverted Striping Paint (18 oz. yellow), either Professional or Industrial Choice is an acceptable alternative, available at stores.
- 🛒 Home Depot
- 🛒 Lowes
- 🚚 Amazon
- 🏗️ Discount Builders (local SF store)
- Condiment Squeeze Bottle
- Mini Paint Roller & Handle
- 4 inch width, longer nap better for rough surfaces, at least 3/8" firm foam rolls.
- Avoid Wooster rollers/frames because they use a non-standard form factor.
- “high density foam” is best. Remember to wash your rollers ASAP after you’re done using them so they can be used again
- 🏗️ Discount Builders has 4” rollers of the Impact brand which are good
- Painters Tape
- Stiff Brush and Gardening Knife/Pick (to clear dirt/weeds)
- Gardening/Painting Gloves
- Optional: Hi-Vis Vest (For safety and to look official)
- Optional: Tape Measure >20' (eyeballing is often fine)
Prepare a Curb Painting Kit

Kit- Use a cheap backpack or tool carrying bag. Make sure all items are out of their packaging. Your kit should include the minimum amount of items needed to complete the job to minimize loss if you need to ditch it.
Paint- to minimize time at the curb, empty paint into a Condiment Squeeze Bottle, and ensure the squeeze bottle can be closed securely when not in use (consider keeping it wrapped in a plastic bag). Note that you may need to cut off a portion of the tip of the squeeze bottle to have the paint dispense more efficiently – but a too-large opening can mean splattering due to too much paint dispensed.
Curb Painting Instructions
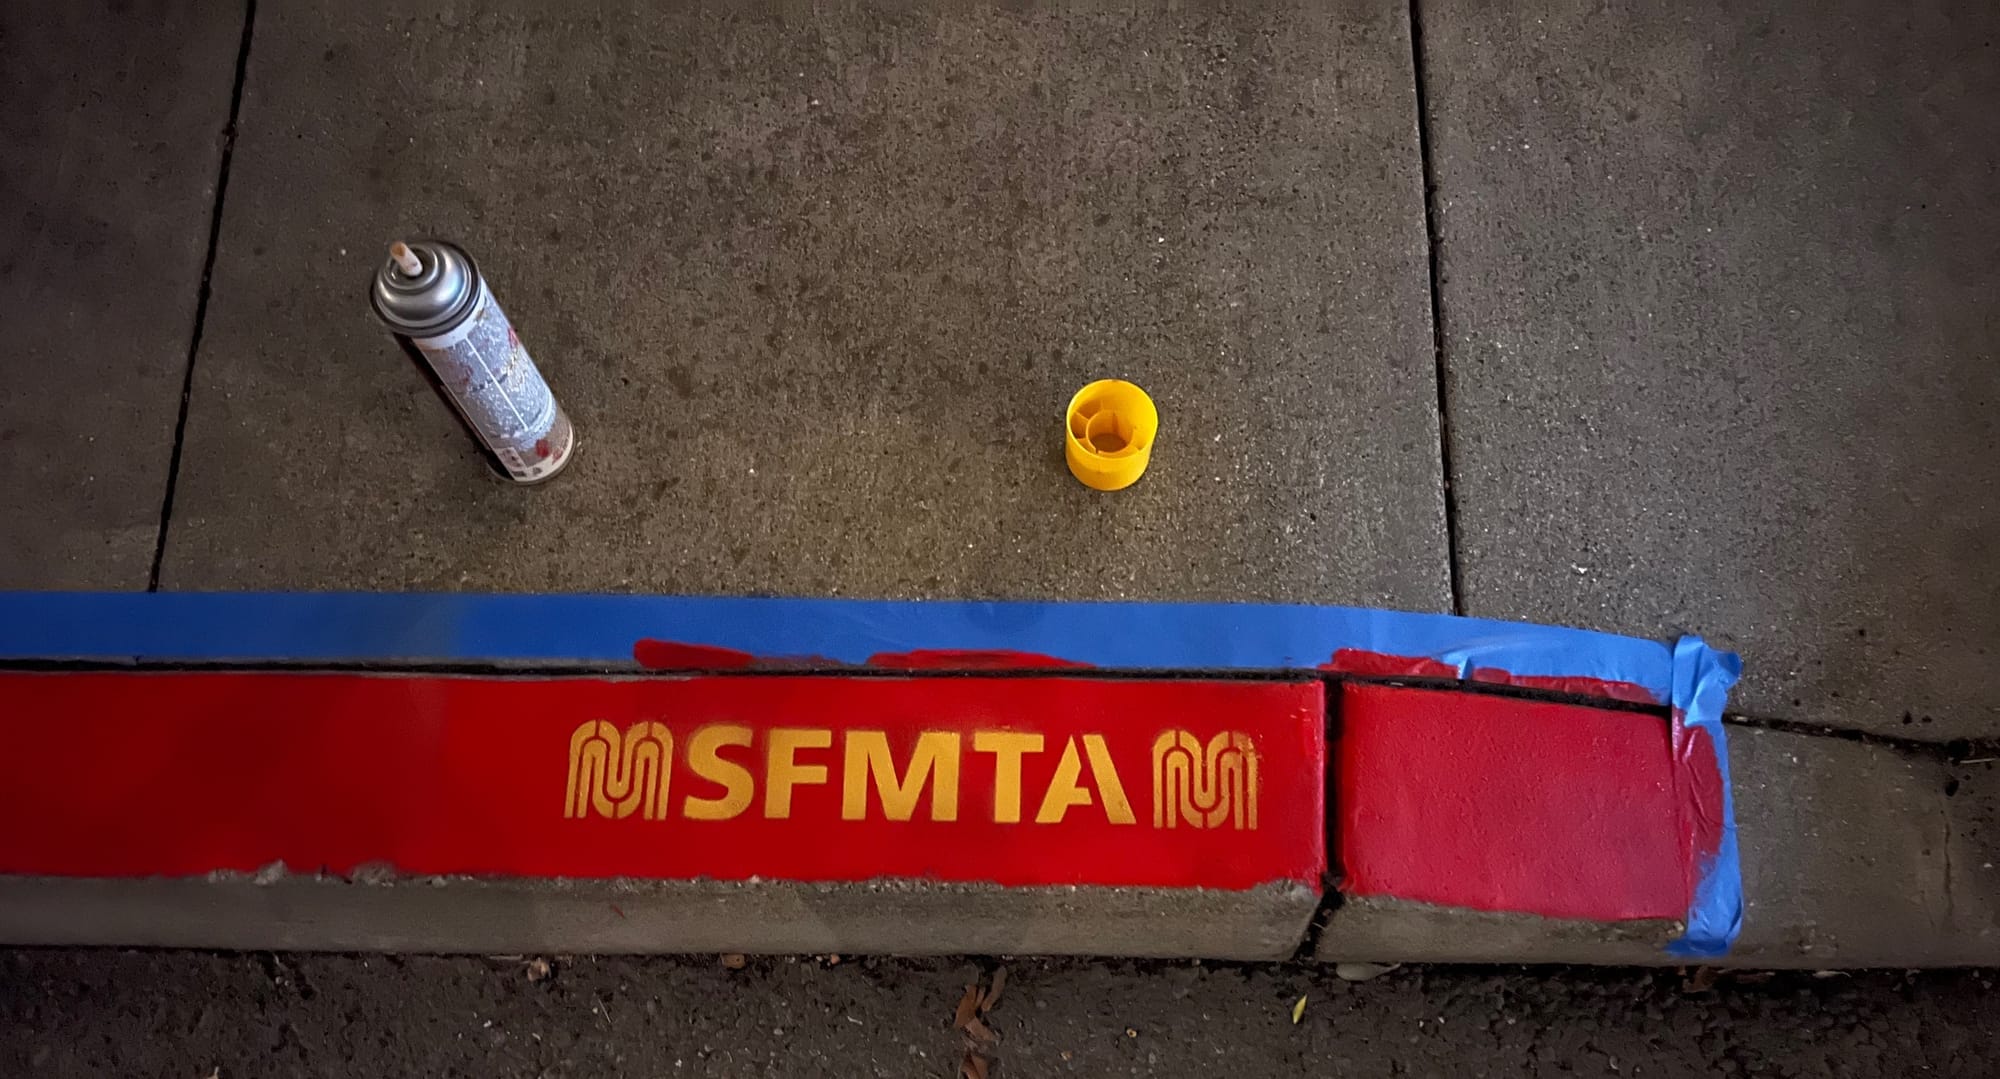
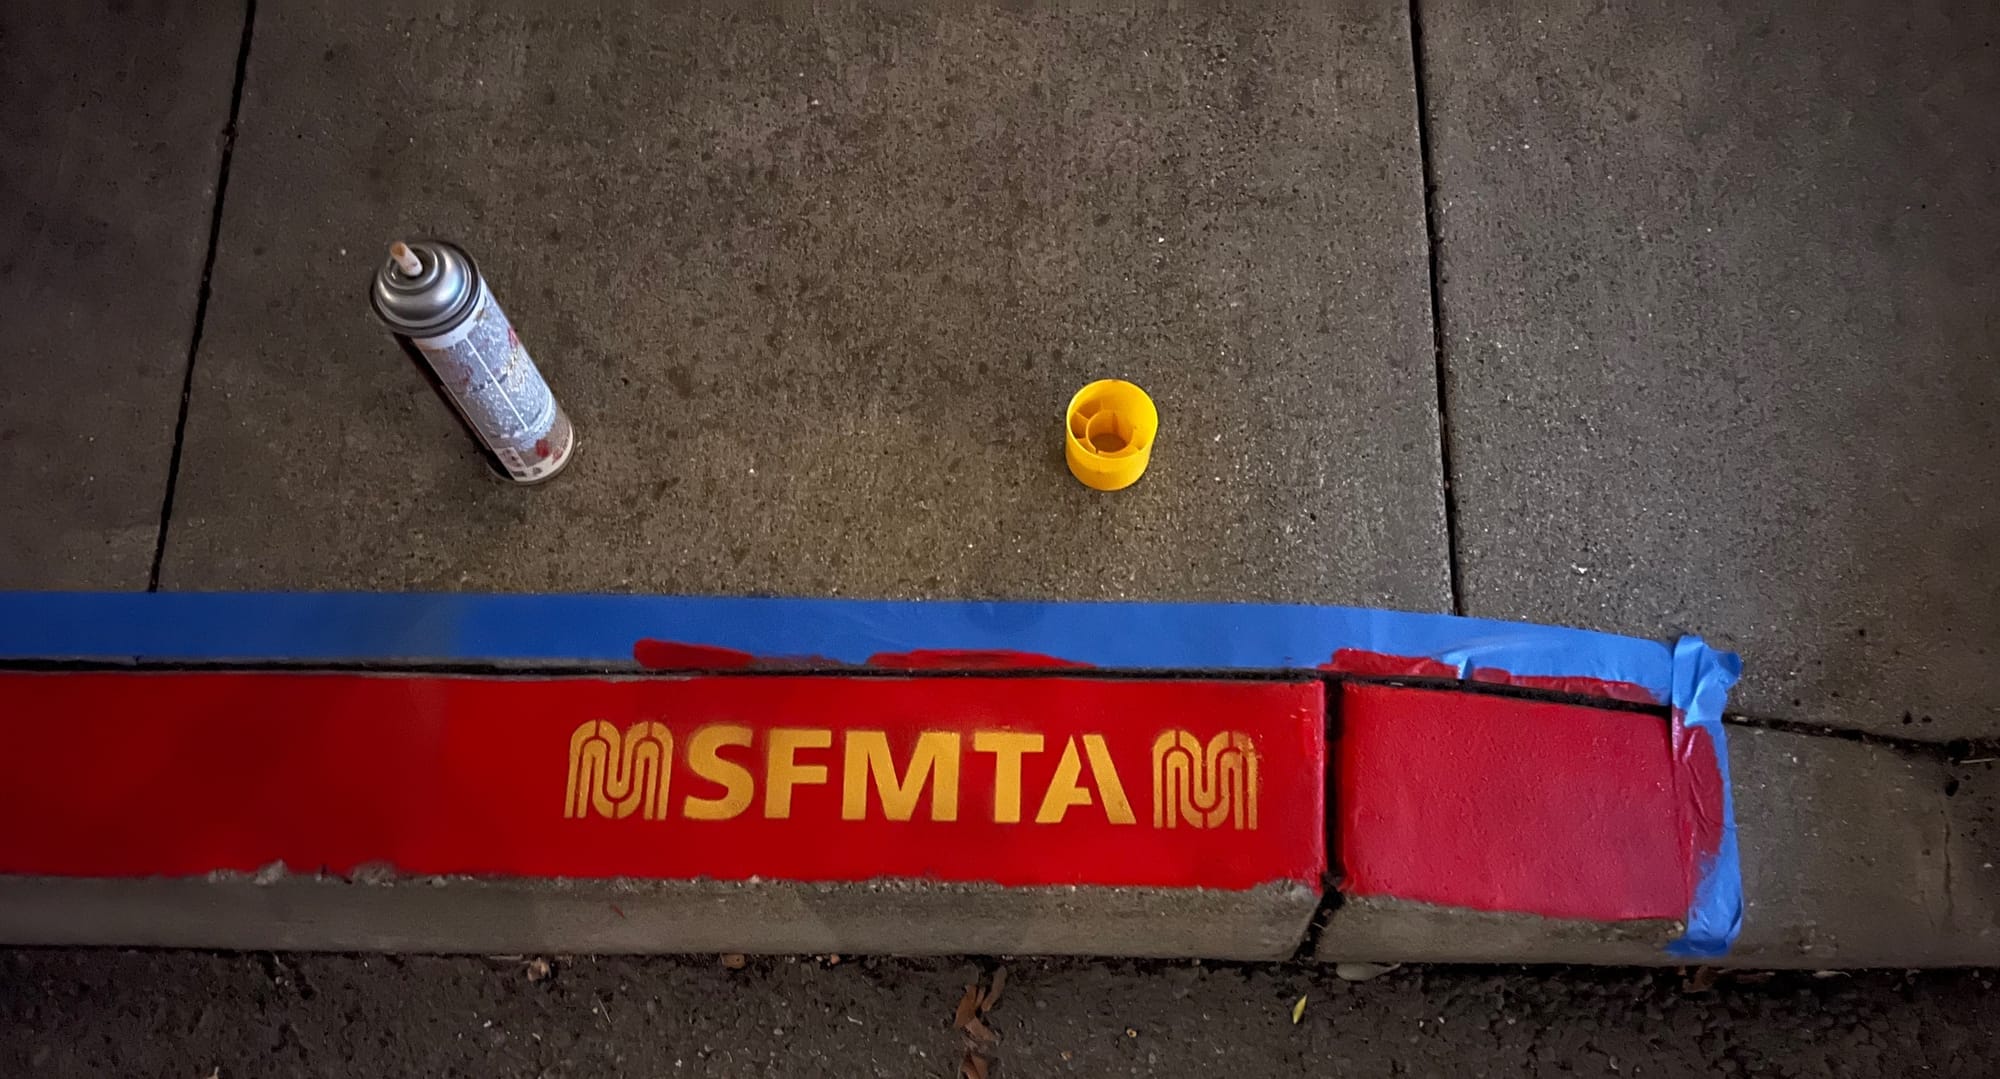
- Measure the curb 20+ feet from the crosswalk or curb cut (or eyeball it - one parking spot length) and place tape at both ends. Optionally, line the tape horizontally along the length of the curb to mask the sidewalk (as shown in the photo below) for a cleaner paint job.
- Clean & Clear the curb of dirt, weeds and debris using the gardening knife and brush.
- Squeeze out paint onto the curb (a little goes a long way) and Paint using the roller. Paint only the top of the curb, not the side (in SF). More paint may be needed for rough/worn curbs. If you're in a hurry, paint the two ends first and then go from the middle so the ends dry quicker for the stencil.
- Stencil - Check that red paint is somewhat dry then place the stencil so the SFMTA logo is facing the roadway about 1 foot from the end (as shown in the photo below). Test the yellow spray paint first (in the air, to ensure it sprays), then spray steadily across the stencil in one smooth motion. Spraying too much paint will lead to drips and smudges. Carefully lift up the stencil. Repeat on the other end of the curb.
- Clean up the tape, remove the paint roller attachment before it dries, pack up, and leave.

